






Tem 18 anos ou mais?
Desculpe, o conteúdo desta loja não pode ser visto por um público mais jovem. Volte quando for mais velho.

"An unusual piece. The details, the finish, without a doubt something very special."

"There are few things that make me emotional, but this was one of them. This bracelet will never leave my wrist again!"
A fingerprint is a deeply personal way to create a meaningful piece. To ensure we can reproduce as much detail as possible, we have prepared a simple and safe kit for you to take the print at home.
Before you begin, we recommend that you read the instructions carefully. This ensures the print is clearer, centered, and ready to be used for personalizing your item.
The process can be repeated if the first attempt is not perfect. Simply reheat the wax carefully and try again.

This kit can be used to prepare one or two fingerprint impressions. The most important thing is that the mold is clear, centered, and easy to identify.
Simply follow the indicated steps and take a well-centered fingerprint on one of the molds. This will be the print used to engrave the piece.
If you require two engravings, make both impressions on the same side of one of the molds, one after the other. Since the piece will be engraved with both side-by-side, the impressions must be together on the same side. It is not possible to use impressions made on different sides.
Follow these steps calmly. The goal is for the natural lines of the finger to be clearly visible and centered on the wax.
Light the candle and hold the wax at a safe distance from the flame. Rotate slowly to heat it evenly.
The wax should be pliable, but not liquid. If it becomes too soft, wait a few seconds before proceeding.
Place your finger straight onto the wax and press firmly and steadily, without moving during the process.
Confirm that the lines are well-defined and that the print is centered. If necessary, you may repeat the process.
Never leave the candle burning unattended. Do not bring the wax too close to the flame and do not touch the wax immediately after heating, as it may be too hot. For babies or small children, we always recommend adult supervision.

and @barbaramaglhaes
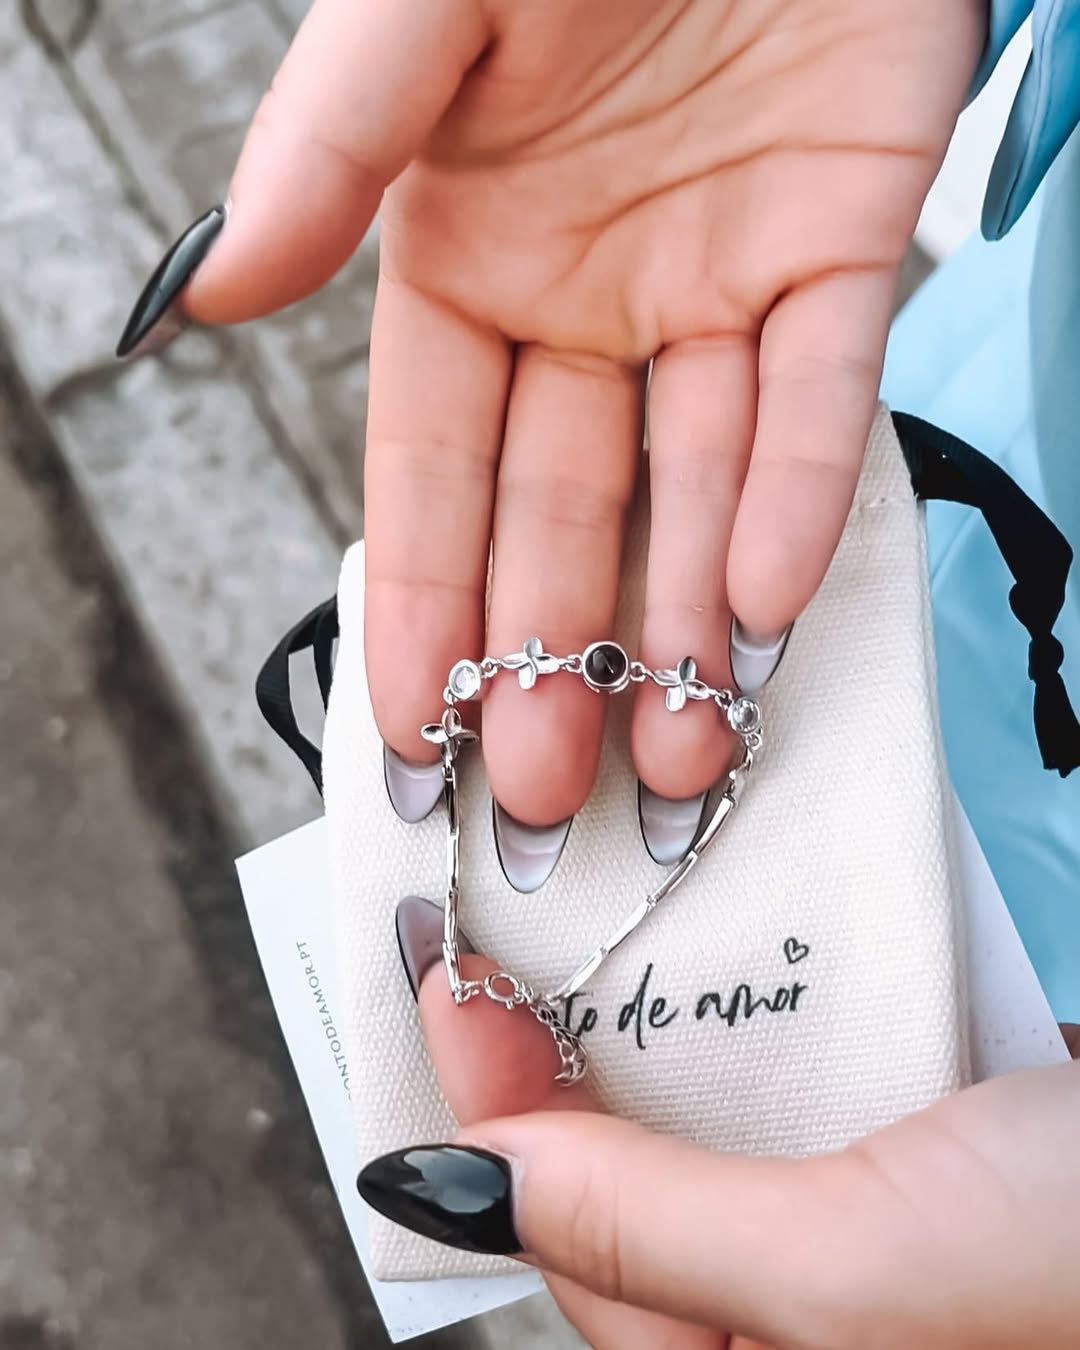
18 November 2024
and @_martaqnascimento_
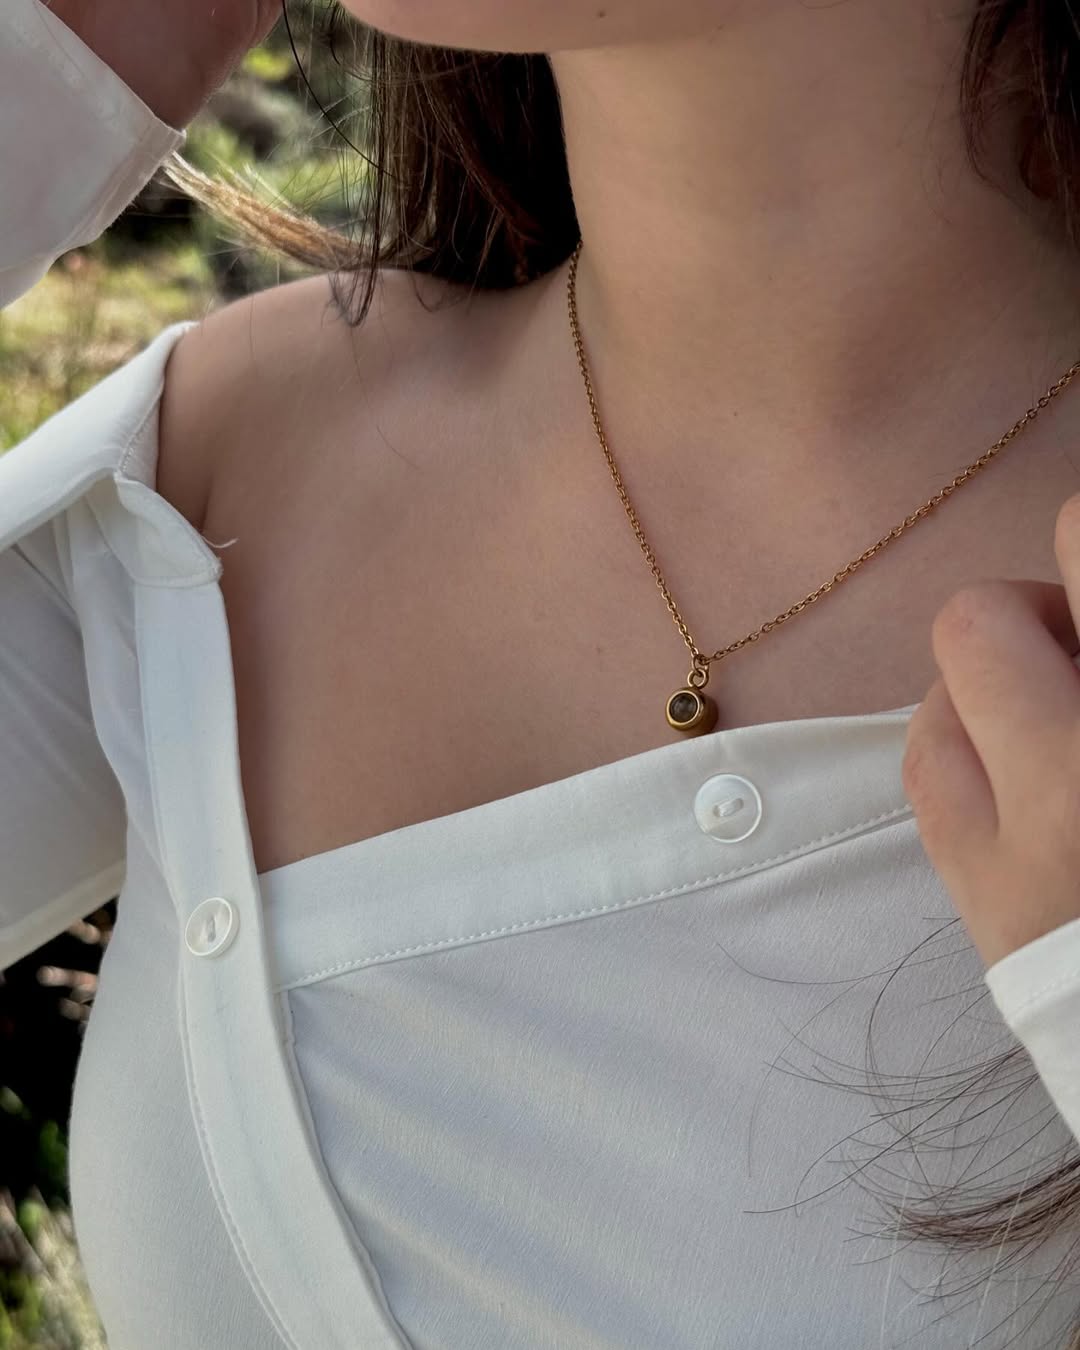
6 November 2024
and @barbarapintoribeiro
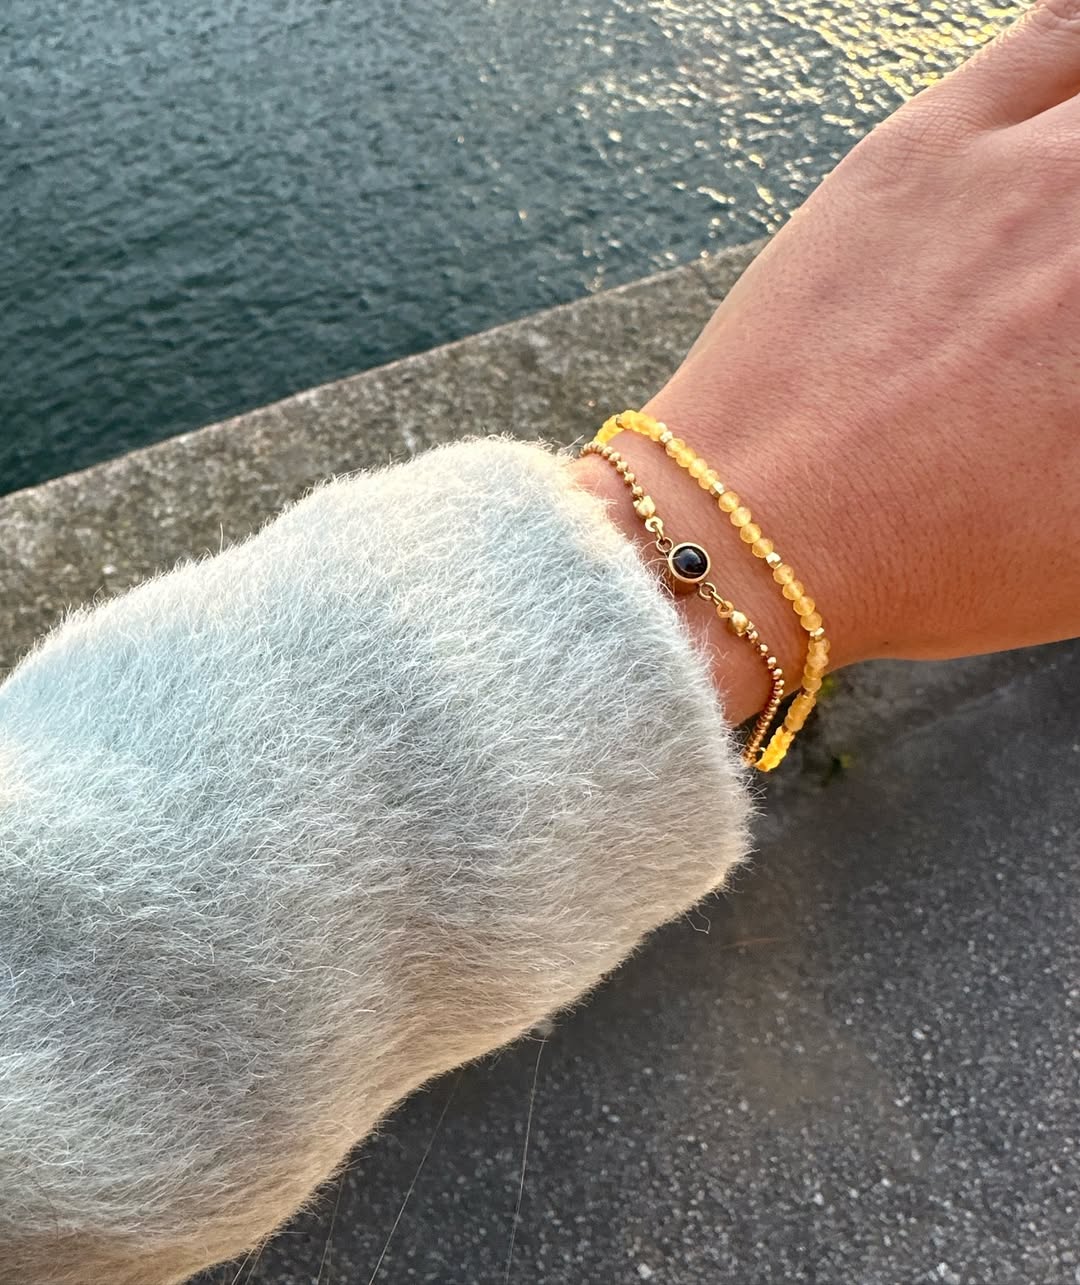
18 December 2024
and @silvanagsousa

3 November 2024
and @inesgborges
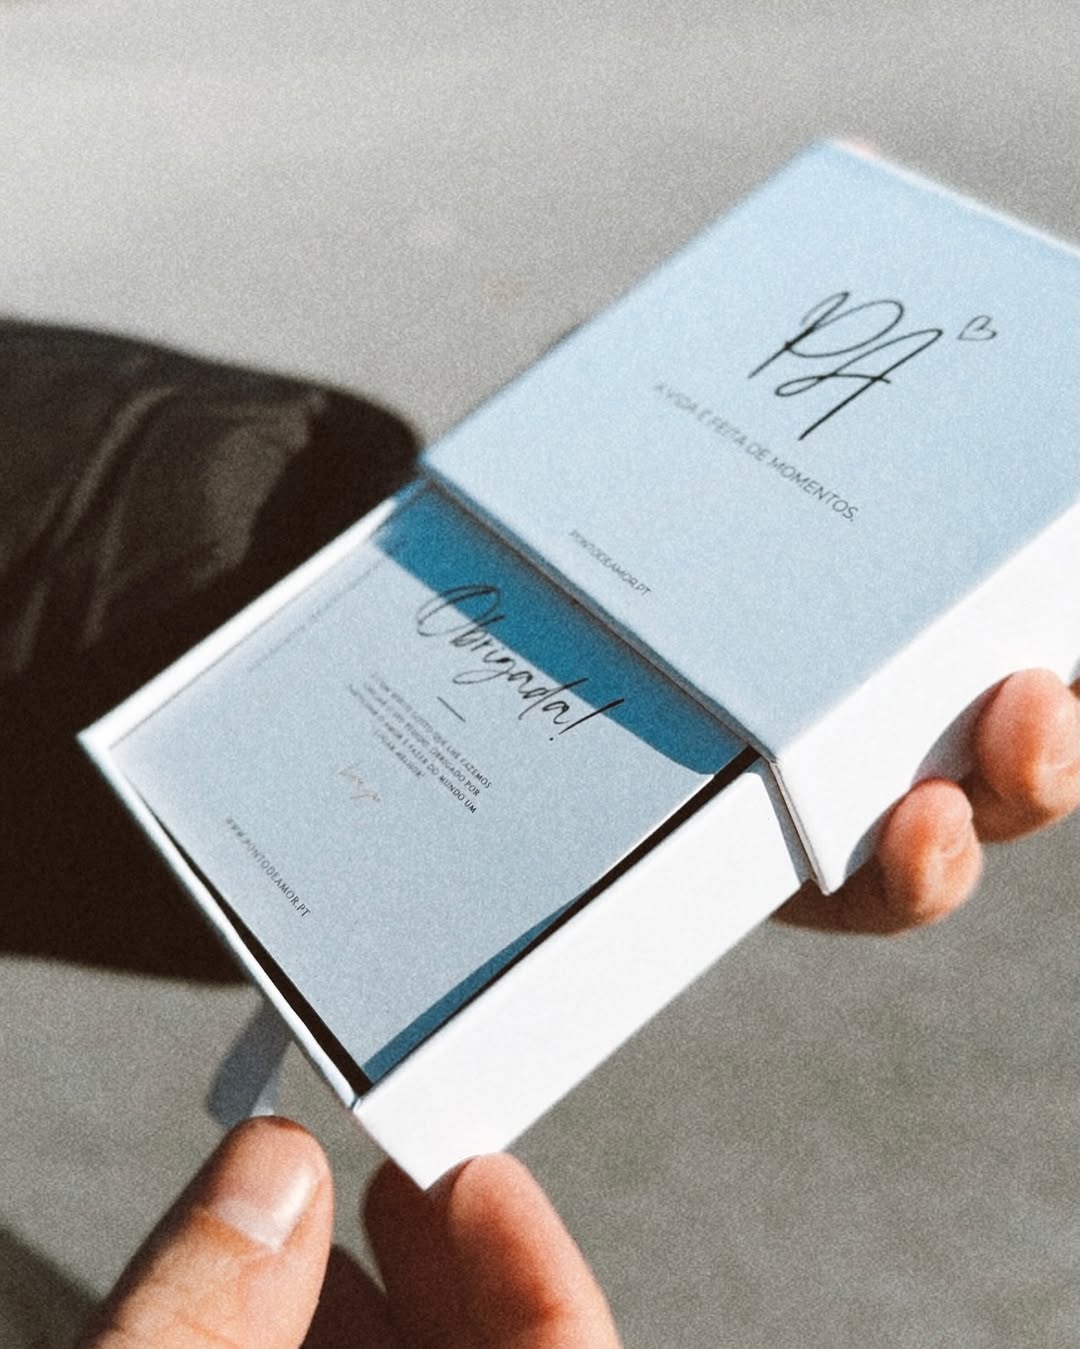
17 January 2025
Fill in the options above. If you want to order more than one necklace, fill in all the information for one necklace and add it to the cart.
Then fill in the information for your second necklace and click add to cart and so on.
When uploading your image, make sure it is a readable image.
